The ikea catalog is the most printed book in the world and over 75% of the catalog is 3D. Ever wondered how they make their products look so amazing in their catalogs?
Today, we will focus on using the Chaos Corona Renderer and 3Ds Max to create eye-catching product visuals, just like you see in the Ikea catalog.
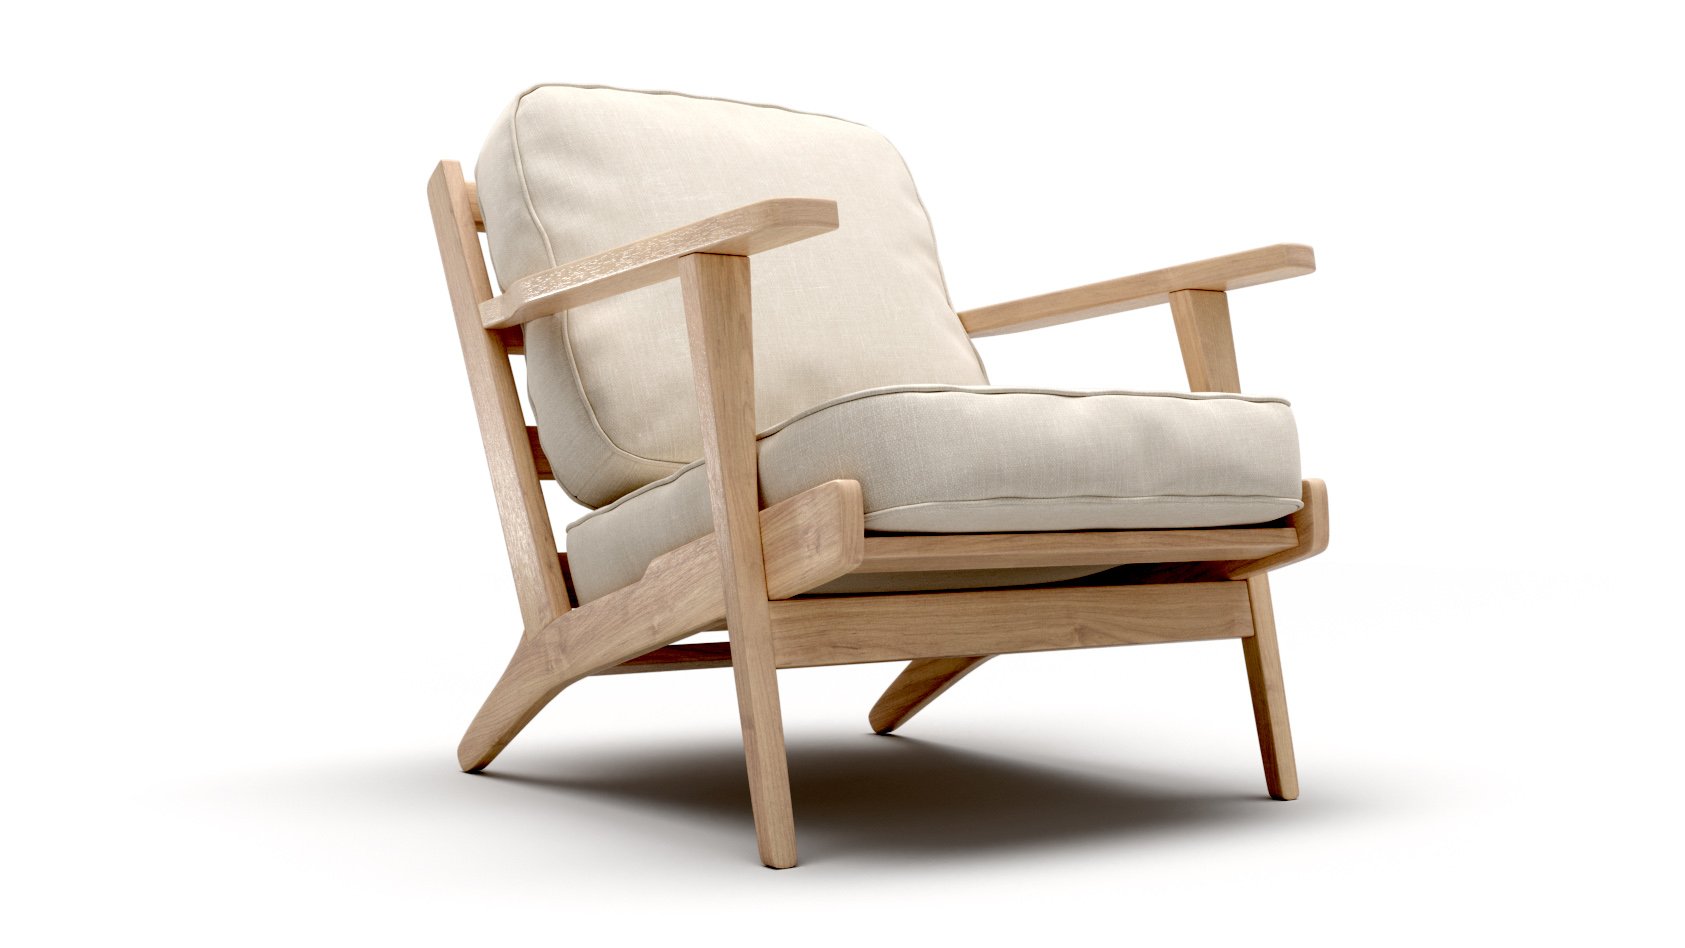
This image shows what you can achieve by following the steps outlined in this tutorial.
The first step in creating a product render is to have a product to render. Fortunately, with Chaos Cosmos now included with Corona, we have access to thousands of 3D models.
1. Open Cosmos from the Corona toolbar to browse the 3D models and choose the one that you would like to use.

Chaos Cosmos in 3Ds Max.
2. Once you have your product, it is time to set up your studio. You can use an HDRI to light the scene, and Cosmos includes several studios that you can use.

A HDRI from Chaos Cosmos
3. You can also modify the scene by adding a pure white background in the Render Settings > Direct visibility override.

The 3d product with direct visibility override on.
4. To add shadows create a plane and apply a Corona Physical Material to it. Hit render and turn of the ACES OT under the tone mapping tab to make sure the background is pure white.
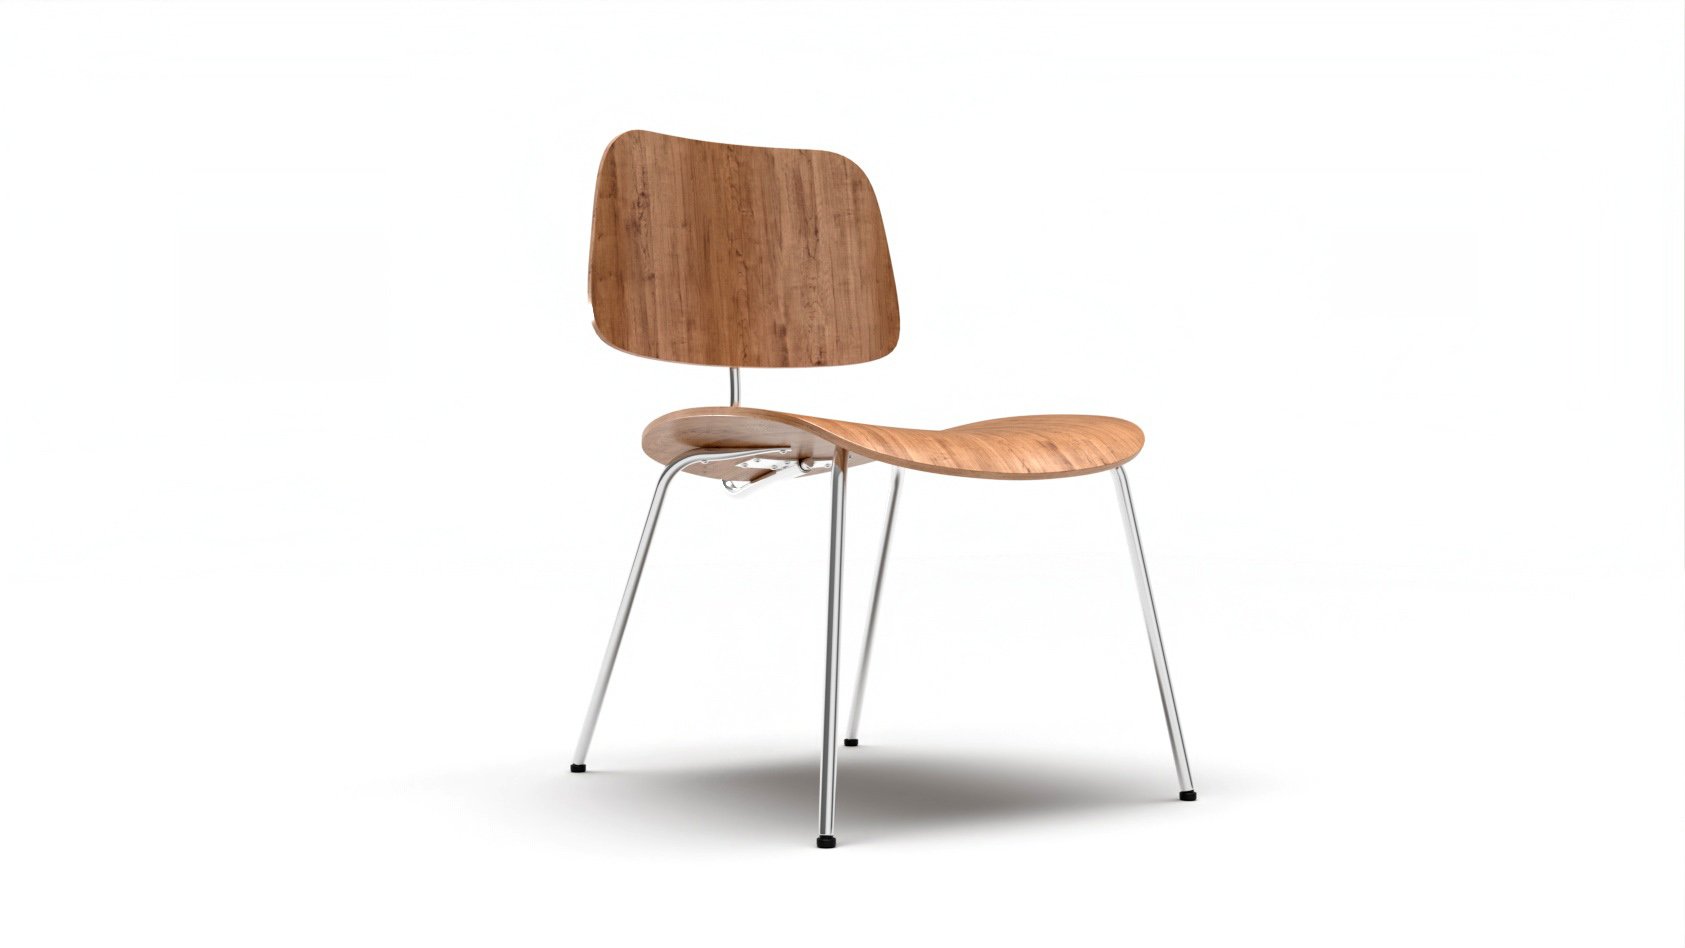
Product render with a pure white background and shadows.
By following the steps outlined in this tutorial, you will be able to create your own studio and product shot. Once complete, you'll be able to use your studio over and over again to render products for your portfolio or for your clients.
Every few years I make a course about what I’ve learned about 3D. If you want to join the 25,000 students who are already learning with me click here.