🔨 TOOLS
Arnold Renderer Now Has Light Mix
Arnold 6.2 for 3ds Max has been released and has some interesting new features. Namely light mix, denoiser and bloom amongst other improvements.
Other than on the modelling course we are yet to explore Arnold Render engine. Is anybody here using Arnold, should I make some videos on it? It does come packaged with 3ds Max and is a solid render engine.
Image Composition Helper Updated
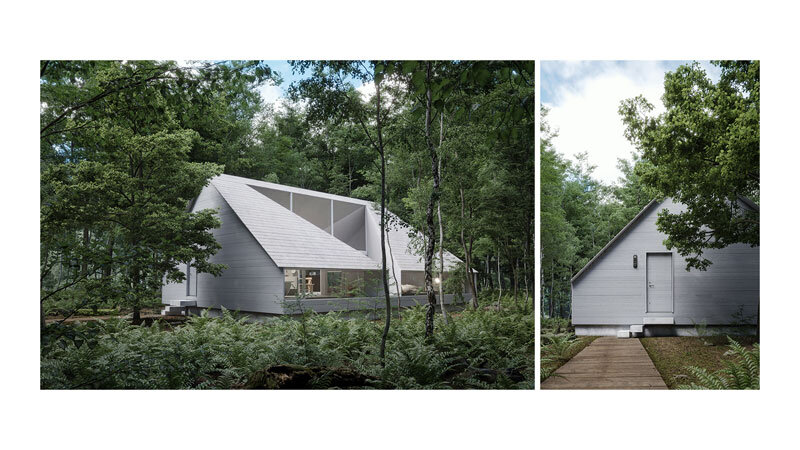
I am a big fan of image comp helper and I was happy to hear that The Faction CGI updated the original script by Christoph Buelter. Image composition helper adds overlays to your 3ds Max viewport to aid composition.
Download the updated script from The Faction CGI's website.

❎ COMMUNITY
“if you want to build habits that last, join a group where the desired behaviour is the normal behaviour.”
The student group continues to grow in both size and quality of work. Some highlights included Graeme Strutt's first 360 product spin and Rahul Kp published some impressive work.
If you would like to join the group you can do so here - https://www.facebook.com/groups/luxuryvisualsacademy

Image Credit Rahul Kp
📺 WATCH
Batch Rendering
Here's how to Render Multiple Cameras In 3ds Max, also known as Batch Rendering.
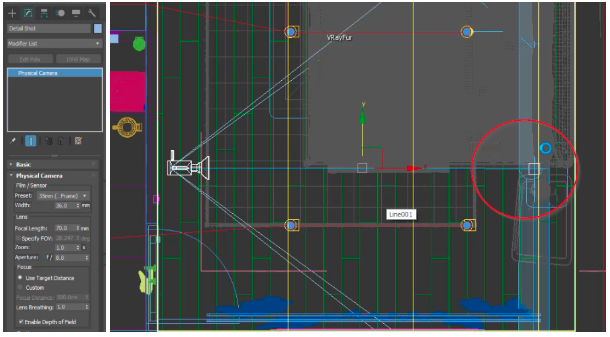
Auto Vertical Tilt
A pretty quick way to improve your renders with the tick of a button.
📖 READ
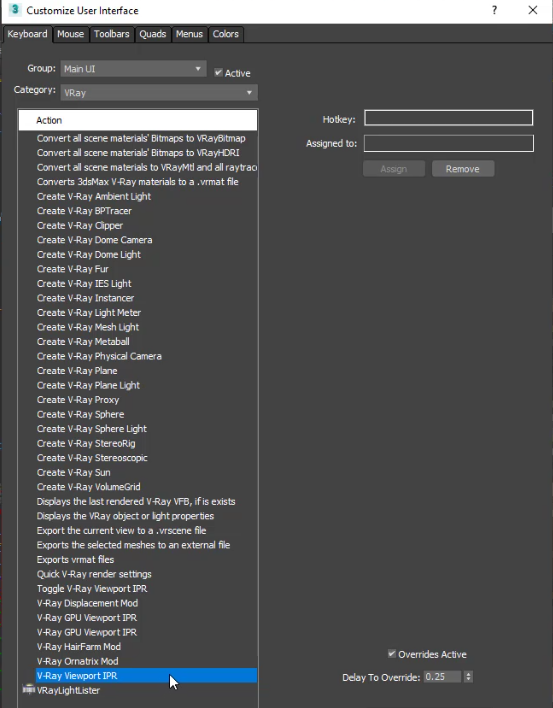
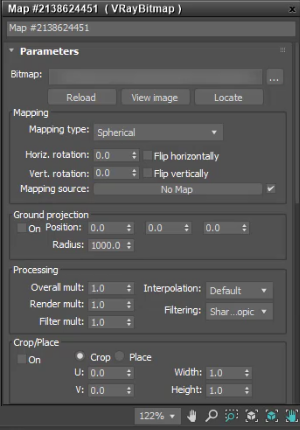
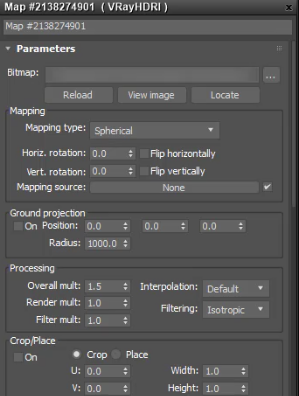
Improve your 3ds Max Workflow: Choose Your Best Light Set-up Fast
I worked hard on this one, so check it out I think you'll find it useful. The focus of this post is how you can use scripts to automate repetitive tasks.
📰 ET CETERA
📃 Want to get your Official V-Ray Certificate of Attendance? Details in the Facebook group.
👇 Make a button for Image Comp Helper
⛅Get 20 Free Chaos Cloud Credits
Render On!